You may not really be conscious involving this reality even so tree maintenance could much more aids you to conserve numerous dollars. These undesirable trees could damage the wall surfaces and also sewage methods along with passing time. When anyone obtain to get rid regarding undesirable trees too as additional choose for fort worth tree trimming, after that you are complimentary coming from investing money on various other allocations.
Merely such as providing safety as well as security also as preventing crashes, these tree caring too as maintenance company will certainly keep tidiness, upon section of customers. Overgrown and inside addition undesirable trees will certainly create any mess, also since this will certainly additionally help with interfering with the physical appearance of one's stunning yard or even excess landscape. Create specific in order to call fort worth tree pruning firms, as well as repair each day and inside addition time using them.
Not merely protecting against wall surface fractures, nevertheless appropriate tree treatment method also as companies will certainly stay away from any kind of additional crashes via taking area. If you've a vintage tree inside your landscape, you could find Sprinkler System opportunities in which an old branch could drop for you anytime.
Some undesirable sound tree trunks could hinder your own job, as well as you require expert Tree service, throughout such emergency scenarios constantly. From existing, getting rid associated with undesirable trees will be not really a hard activity, when you've agents in order to direct an individual with the entire treatment. A Variety Of other compared to end up being able to eliminating unnecessary trees, you could additionally prepare in order to get rid of dead Sprinkler Installation Frisco trees with out coping with virtually any sort of trouble.
It's crucial pertaining to you in order to definitely understand the aspects involving working together with fort worth tree service. As these trunks tend to be difficult and within addition old, consequently; an individual need proper devices and also tools pertaining to obtaining rid of trees. These People are usually http://www.nbcmiami.com/video/ educated well, and throughout addition utilize appropriate equipments regarding receiving rid of tree trunks securely.
This article provides a great starting place if Internet marketing and creating an Internet marketing plan is not used to you. If you'd like to dominate video marketing, there are several easy steps that you simply need being following that can help you've better outcomes. Video website giant YouTube. Online sales reached $3986 billion last year, a 16% increase compared with $3470 billion in 201 This has been the highest growth spurt since 2013 and i7 Group eCommerce is predicted grow exponentially by 2020. Unlike in traditional media such as newspapers, magazines, television, and radio, social media i7 group review allows internet users to sign up and comment in the topics.
Generally, the impact that online marketing can have is huge. For products make sure you advertise new items which are coming into the marketplace and maintain your readers informed using a newsletter or any other content. The market research cost and effectiveness, if done right, will become invaluable to a company which is starting a campaign like this and achieving many evaluated. Private label rights offer you the privilege to use someone's product. Title - needs being catchy along with a description of what are the video is about.
Simplicity - a great benefit of the SWOT 2x2 matrix is always that it is relatively basic and basic to understand -- you identify the strengths, weaknesses (internal) and then the opportunities and threats (ex ternal) that may be presented. In short, almost all the Internet's resources are now being used on this brand of marketing. You will pay to hold the video posted on someone's web page, or if your video is good enough, you can look at making it into a viral video and send it out to all or any of your mates to be passed on.
Entrepreneurs will look for a large amount of web video marketing tools on affiliate sites. Every video features a different goal and it is in the different niche. Although traditional MLMers rarely cross up to online methods, I believe it's merely a matter of time before the majority of MLMers utilize the web for a lot more than just sending MLM prospects to a plain opportunity overview website.
So you're ready to dominate the competition in Acn Click Here For more training on exploding your MLM business Go Here. No matter how easy t he task of social networking appears to be it isn't https://en.m.wikipedia.org/wiki/Marketing in reality. For tips and advice to aid you find the best Online Marketing Video strategies, go to his blog: Wealth Success Ventures. some pages on various Web 0 sites and rank them in Google. Start making your videos so you can start getting visitors and purchasers to your websites.
Online marketing has several strategies and the social marketing is certainly one of them. If you have not previously used video marketing then you may well be amazed at how effective it can whether it be getting your website new visitors. If you've not previously used video marketing then you may well be astonished at how effective it can be it getting your website new visitors. It has uniquely mirrored exactly the same image that Australia has project all over the world, relax, easy and comfortable.
The basic ethic required to start out online video comm ercial is professionalism. com and www. Technorati will illustrate the amount of links also as individuals too because https://www.entrepreneur.com/topic/marketing the video on their own blogs have produced for each and every video.
Search for that missing content with the search box above. If they are already in an opportunity, then they don't really want to hear about another opportunity. And on the Internet, you will never run out of leads.
Train As If You Mean It. * Push advantages EUR" personalization of messages, high conversation rate, and detailed tracking of customer choices. Author: Kate Manheaven Share/Discuss this article: Digg.
o Who is viewing your videos?o What will they want?o Are you giving them whatever they want?. They still do not need any precise way to https://www.youtube.com/watch?v=4533NA3oNzs measure whether their target audience is focusing or not. You can send video blog messages directly to your target market and bypass probably the most vigilant email filters. You can send video blog messages right to your target market and bypass one of the most vigilant email filters. And that definitely works, but the real power of videos comes following your lead is d.
The viral power of your business social media marketing campaign is large so you have to think about having such campaign inside your https://www.youtube.com/watch?v=4533NA3oNzs overall marketing strategy. marketingtitan. She holds a PHD in writing from Cambridge. Before making your digital strategy always knows this can be the audience base that you want to target upon.
Revealed: FULL tape of Tommy Robinson fight shows battered victim struggling to walk as witness rubbishes activist's self-defence claim - Mirror Online
Full footage of Tommy Robinson punching a man to the ground at Ascot Racecourse shows the bloodied victim barely able to walk after the sickening fight.
The extended tape, released exclusively to the Mirror Online, shows the ex-EDL leader battering a fellow reveller at around 7pm on Saturday.
Mr Robinson this afternoon claimed he was acting in self-defence after being attacked by the victim.
But coach driver Asif Idris, 40, who drove Tommy to the event, claims he was NOT acting in self-defence.
He said Tommy - whose real name is Stephen Yaxley-Lennon - threw the first punch and then fled the scene, leaving his wife and friends to travel home without him.
In the footage, 34-year-old Mr Robinson - wearing a black suit and shirt - can be seen glancing behind him as he walks unaccompanied towards the coach.
Shortly afterwards, the victim walks past the front of the vehicle, wearing a patterned tie with sunglasses on his head.
The pair disappear from view for a few moments before bursting back onto the screen. Tommy throws around seven punches towards the man's head as he falls to the floor before three other men step in.
The battered victim then staggers into the arms of friends and struggles to stand as he is carried away.
Mr Idris, from Birmingham, said the incident appeared to begin as a verbal disagreement but was escalate d by Tommy - who he says seemed "pretty sober".
Do you know the man punched by Tommy Robinson? Call Mirror Online on 02072933018
Read MoreEDL founder Tommy Robinson's heated debate with Piers Morgan on Good Morning Britain sparks furious outrageTommy Robinson can be seen glancing behind him as he walks to the coach (Photo: Asif Idris /Daily Mirror)The victim (circled) follows behind (Photo: Asif Idris /Daily Mirror)Tommy punches the man to the ground and continues lashing out (Photo: Asif Idris /Daily Mirror)
"At Sprinkler System first I thought Tommy and this man were friends," Mr Idris said. "They were both walking towards the coach and everything seemed normal. It was only as they got close to the door that I realised they were having a disagreement.
"I didn't hea r what the argument was about but I just heard Tommy saying 'f*** off' three or four times. Then suddenly he turned to the man and you could see he was getting ready to hit him - he had his fist clenched. That's what caught my eye.
"I thought 'they can't be friends'. Tommy threw the first punch and then when the guy fell to the ground he kept punching.
"Friends from both sides got involved to pull them apart and one of Tommy's friends dislocated his finger. He had to be treated by a St John's Ambulance which was right next to my coach.
"The man Tommy hit looked about 24 or 25 and was quite drunk. Tommy looked pretty sober."
Read MorePolice arrest eight after protest led by former EDL leader Tommy Robinson in Manchester city centre 'turned nasty'Mr Robinson punches the man seven times before a friend intervenes (Photo: Viral Press)The man is hit in the side of the head (Photo: Viral Press)The victim, held up by two friends, staggers off (Photo: Asif Idris /Daily Mirror)
Mr Idris said Tommy's claims that he was acting in self-defence are "not true".
"It was not self-defence," he said. "His wife was already on the bus. Maybe http://www.hgtv.com/design/topics/lawn-care they [Tommy and the unidentified man] were having a disagreement and I can't say if the man had been aggressive to him earlier in the evening, but when they were in front of my coach it was Tommy who started the violence.
"He did not get hit in the back of the head or dragged from the coach. That did not happen."
Mr Idris said he refused to let Tommy back on the coach because of his behaviour.
Read MoreEx-EDL chief Tommy Robinson admits photo of Muslim woman staring down leader at demo has "embarrassed" far-right groupTommy Robinson captured before the brawl (Photo: Asif Idris/Daily Mirror)Mr Robinson talking to Piers Morgan on Good Morning Britain (Photo: ITV)
"He tried to tell me the man had ripped his jacket pocket and the fight was not his fault, but I told him I had witnessed the whole thing," Mr Idris said.
"I told him he was not allowed on and so he ran off. One of his friends followed him Sprinkler System Installation Fort Worth but he never came back. I took his wife and friends home and they were really nice and polite."
In a tweet, Mr Robinson insisted he had been acting in "self-defence".
A tweet to his account said: "Th is is regarding an edited video being shared online regarding Tommy. Tommy was at the races with his wife. This man followed them both to their coach abusing them.
"Tommy and his wife went to board the coach but the man was not finished, he attacked Tommy and dragged him from the coach. The man followed, instigated and attacked Tommy when he was with his wife. Tommy acted in self-defence."
Earlier this week, Mr Robinson sparked outrage after he was accused of stirring up hatred in the wake of the Finsbury Park terror attack.
In a furious debate with Piers Morgan on Good Morning Britain , Robinson was branded a "bigoted lunatic" who was a "complete disgrace".
The pair clashed after Mr Robinson accused the Finsbury Park mosque of 'creating terrorists' just an hour after people were mown down as they left their evening prayers.
Piers slammed the f ar-right figure for 'whipping up anti-Islam' feelings during the heated interview.
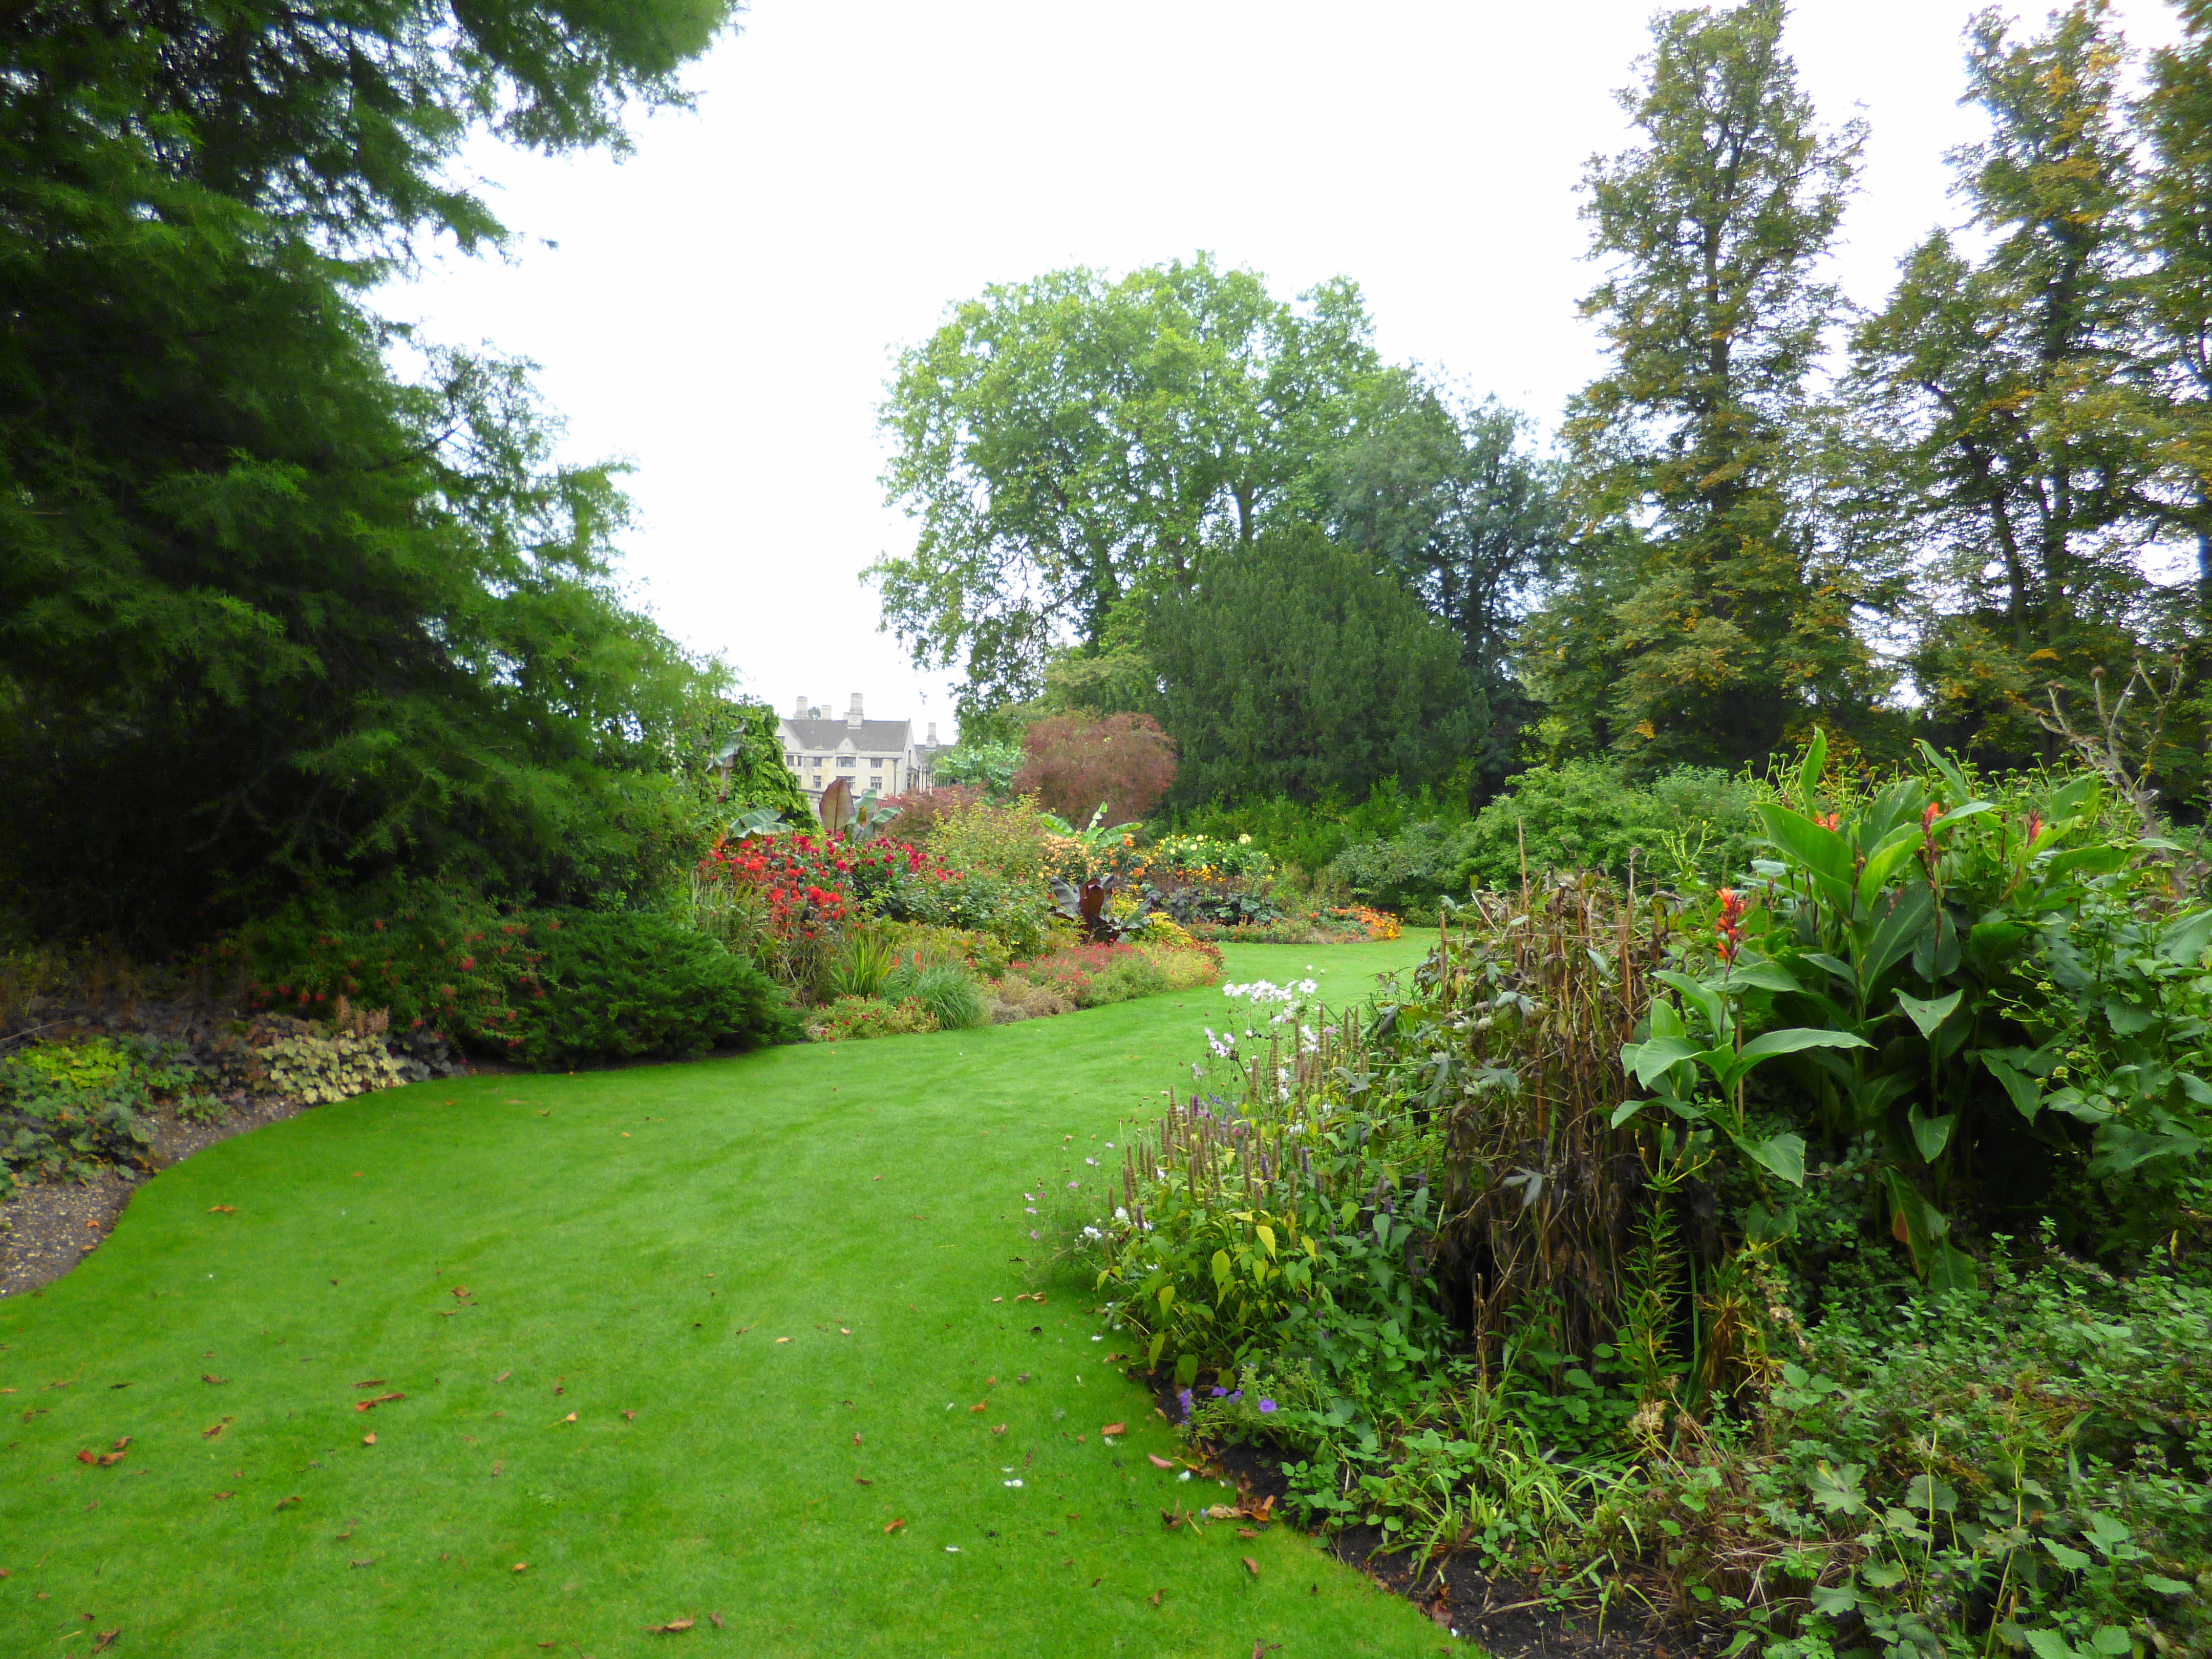
Landscaping refers to any activity that modifies the visible features of an area of land, including:
living elements, such as flora or fauna; or what is commonly called gardening, the art and craft of growing plants with Sprinkler System Installation a goal of creating a beautiful environment within the landscape.
natural elements such as landforms, terrain shape and elevation, or bodies of water; and
Landscaping requires expertise in horticulture and artistic design.
Contents
1 Understanding the land
2 Tools
3 See also
4 References
Understanding the land
Construction requires study and observation. It is not Sprinkler System Installation Flower Mound the same in different parts of the world. Landscaping varies according to different regions.[1] Therefore, normally local natural experts are recommended if it is done for the first time. Understanding of the site is one of the chief essentials for successful landscaping. Different natural features like terrain, topography, soil qualities, preva iling winds, depth of the frost line, and the system of native flora and fauna must be taken into account.[2] Sometimes the land is not fit for landscaping. In order to landscape it, the land must be reshaped. This reshaping of land is called grading.[2]
Removal of earth from the land is called cutting while when earth is added to the slope, it is called filling. Sometimes the grading process may involve removal of excessive waste (landfills), soil and rocks, so designers should take into account while in the planning stage.[3][4]
Tools
In the start, the landscaping contractor makes a letter which is a rough design and layout of what could be done with the land in order to achieve the desired outcome.[2] Different pencils are required to make graphics of the picture. Landscaping[5] has become more technological than natural, as few projects begin without bulldozer s, lawnmowers, or chainsaws.[1] Different areas have different qualities of plants. Fertilizers are required for this purpose in excess amounts as natural landscaping is done. Some landscapers prefer to use mix gravel with rocks of varying sizes to add interest in large areas.[6]
See also
Aquascaping
Arboriculture
Ecoscaping
Horticulture
Landscape architecture
Landscape contracting
Landscape design
Landscape ecology
Landscape engineering
Landscape planning
Naturescaping
Sustainable landscaping
Terraforming
Xeriscaping
References
^ a b Natural Landscaping: Designing With Native Plant Communities - John Diekelmann, Robert M. Schuster - Google Books. Books.google.co.uk. Retrieved 2013-04-10.
^ a b c Landscaping Principles and Practices - Jack Ingels - Google Books. Books.google.co.uk. 2009-01-15. Retrieved 2013-04-10.
^ Landscaping - William Slack - Googl e Books. Books.google.co.uk. Retrieved 2013-04-10.
^ Taylor's Master Guide to Landscaping - Rita Buchanan - Google Books. Books.google.co.uk. Retrieved 2013-04-10.
^ John Smith. "Landscaping by landscape gardeners: Methods and Tactics". New Ways Landscaping Design. Retrieved 2016-06-14.
^ Sharon Cohoon and Jim McCausland. "How to Landscape Gravel - Page 2". Sunset.com. Archived from the original on March 19, 2012. Retrieved 2013-04-10.
v
t
e
Land use
General
Degradation
Development/Conversion
Planning
Conflict
Land management
Sustainable land management
Landscaping
Integrated landscape management
Land grabbing
Land consumption
Land loss
Habitat loss
Illegal construction
Land reclamation
Land rehabilitation
Landscape ecology
Rangeland management
Environmental planning
Leopold matrix
Watertab le control
Developed environments
Built-up area
Property
Property
Subdivision (land)
Real estate developer
Land development bank
Land (economics)
Customary land
Related fields
Soil
Soil science
Soil compaction
Soil pollution
Overpopulation
Pollution
Deforestation
Urban planning
Infrastructure
Urban renewal
Agriculture
Permaculture
Drainage system (agriculture)
Sustainable agriculture
Categories: Land use
Retrieved from "https://en.wikipedia.org/w/index.php?title=Landscaping&oldid=776521820"
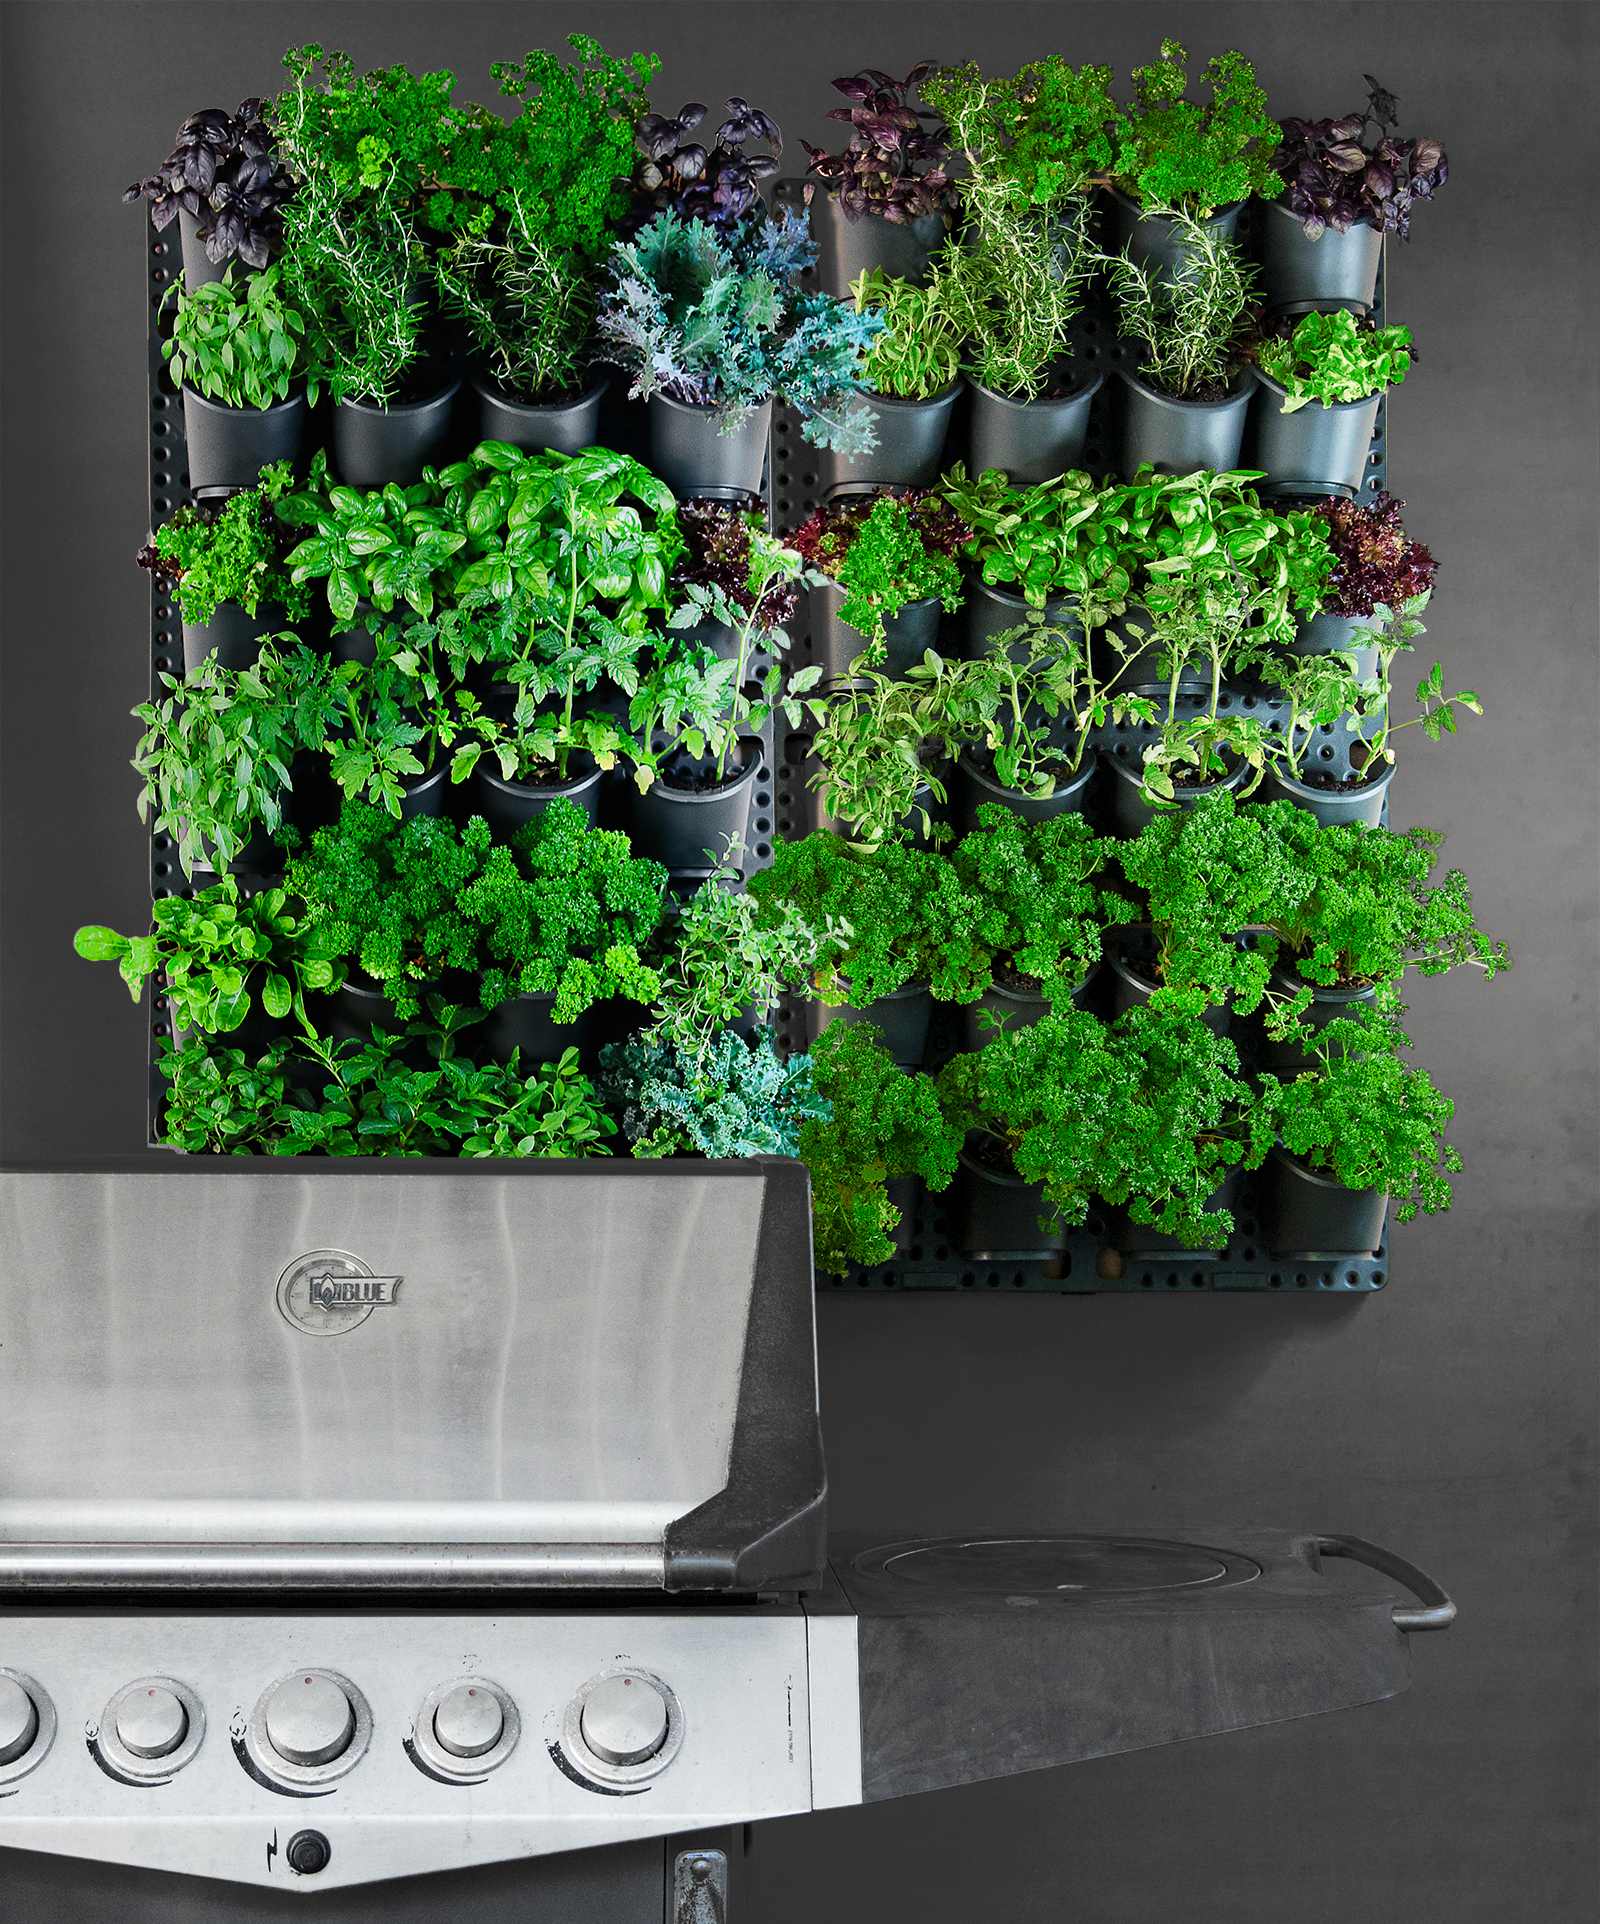
Hay bale gardening technique is a low-cost and convenient way of growing flowers and vegetables. Growing vegetables in a hay bale garden is similar to the technique used to grow vegetables in a raised bed garden. If you are just getting your bales, give the bales a thorough soaking, and let them begin to break down before you plant your vegetables. Hay or straw bale gardening is another great way have your garden if you have limited space, terrible soil, a bad back or those who are confined to a wheel chair! So much time is saved by not having to weed or hoe or even water as often as well. This project was first researched by a Dr at the University of Minnesota Extension says, "Hay bales provide a well-aerated, disease free growing medium that is perfect for growing vegetables.
The popular method of hay bale gardening is getting more popular in town, a friend told him how to get prosperous crops using not hing but wheat straw, potting soil, a little Sprinkler System fertilizer and some tomato plants "Every fall I get some bales and let them sit out all winter to get good and soggy, I plant a few every year and I've had real good luck. Another friend who was in the landscaping business showed him how to use wheat straw to garden "He had all kinds of crops including cucumber, squash and green beans, you can raise almost anything except corn, because it's too tall and the bale will fall over .
Bales first should be situated in a full sun formation, with twine and wire ties kept in tact. Since bales may be used two seasons, synthetic twine can be used to provide the most durable binding. For optimum root penetration and plant growth throughout gardening months, bales should be placed with strings wrapped horizontally and straws set vertically. The next step is hydration, the key to successful hay bale gardening. A form of hydroponics, the hay bale is like a sponge, and you can't let them dry out, or your crop just does not work. While watering the bales twice per day, fertilize them every other day for six days with one-half cup each of a high nitrogen fertilizer. Working with the bales is much easier than working on a traditional garden. You're putting your garden at eye level, you can see your progress, you can weed it a lot easier and harvest easier. (Posted by Denise in Creative Organic Gardening). Straw bale gardening is an interesting option for those who have either limited soil, limited space or have difficulty bending over. This is important if you intend to get two years possible out of each bale in your straw bale gardening efforts. Remember several things about placing your bales in your straw bale gardening layout. Straw bale gardening layouts can be placed end-to-end to create long gardens or grouped into traditional bed shapes or even set up as maze types of gardens. How crazy does it sound, growing tomatoes in bales of hay. I planted peppers, tomatoes, flowers and beans in the hay bales in different arrangements that were pleasing to the eye. Somehow I find it oddly interesting kind of like growing tomatoes upside down. In my garden adventures with hay bale and straw bale gardening I have tried several different gardening techniques. While I like growing melons and gourds in the bales both are heavy feeder so I created a hay bale/ straw bale square garden technique to use with these crops. Lay the bales out to form a square with an open section on the inside. Now it's time to prepare the bales for planting. Straw bale gardening has many positive aspects. Valerie Everett I prefer straw bales as they contain less seed and last longer but straw is more expensive so my choice for the garden depends on the best buy I can get or which crop I http://photos.hgtv.com/photos/landscaping- am growing. For squash pla nts and gourds Sprinkler System Installation I use hay bales. First get bales that still have the string tightly around the bale. And if you know where you want your garden position the bales. For more information and tips on gardening go to www.Teegoes.org
An automatic watering system for the greenhouse doesn't need Sprinkler System Installation to cost a fortune. In fact, they are very simple to make, and once set up, will allow you to get Sprinkler System Denton on with other things, or even go on vacation, knowing that your plants will not shrivel up and die through lack of water while you are away.
Greenhouse plants, as we all know, need regular and frequent waterings especially during the hotter days of spring and summer.
When you think of irrigation systems, especially automated ones, you think of http://www.bhg.com/gardening/landscaping-projects/ lengths of tubing and expensive timers, all connected to the water supply that you may or may not have in your greenhouse.
With the system outlined in the video above, you can carry the w ater into the greenhouse from elsewhere, as once it is in the container you choose to use as a reservoir, it will only need the occasional topping up.
The bigger the reservoir, the less often you will need to replenish the water.
On top of the bench place a double layer of black polythene, making sure it reaches all the sides. This is to stop water from draining away naturally.
Place the capillary matting on top of this.
Attach the hose to the pump, and place in reservoir.
Fill the reservoir with water until it is around three quarters full.
Plug the pump into your timer switch, and set it to come on for a minute or two, twice day, or more often if you live in an area of extreme heat.
Each time the pump runs, water from the reservoir will wash over all the capillary matting area, then return to the water container it came from, minus, of course, what your plants have drank and a little bit more that is absorbed by the matting.
It takes typically less than a minute to thoroughly wet the whole area, in what could be called a flood wash watering.
You can even add liquid fertilizer to the water, to make sure your plants have all the nutrients they need.
This automatic irrigation system is simple to set up, inexpensive to prepare and run, and absolutely anybody could put it together, no matter how untechnically minded you are.
Go ahead and fit one up - your plants will love you for it!

 Tommy Robinson can be seen glancing behind him as he walks to the coach (Photo: Asif Idris /Daily Mirror)
 The victim (circled) follows behind (Photo: Asif Idris /Daily Mirror)
 Tommy punches the man to the ground and continues lashing out (Photo: Asif Idris /Daily Mirror)
 Mr Robinson punches the man seven times before a friend intervenes (Photo: Viral Press)
 The man is hit in the side of the head (Photo: Viral Press)
 The victim, held up by two friends, staggers off (Photo: Asif Idris /Daily Mirror)
 Tommy Robinson captured before the brawl (Photo: Asif Idris/Daily Mirror)
 Mr Robinson talking to Piers Morgan on Good Morning Britain (Photo: ITV)
.jpg)